Pro-Form J6 831.297693 User Manual
Browse online or download User Manual for Treadmills Pro-Form J6 831.297693. Pro-Form J6 831.297693 User`s manual
- Page / 18
- Table of contents
- BOOKMARKS
Summary of Contents
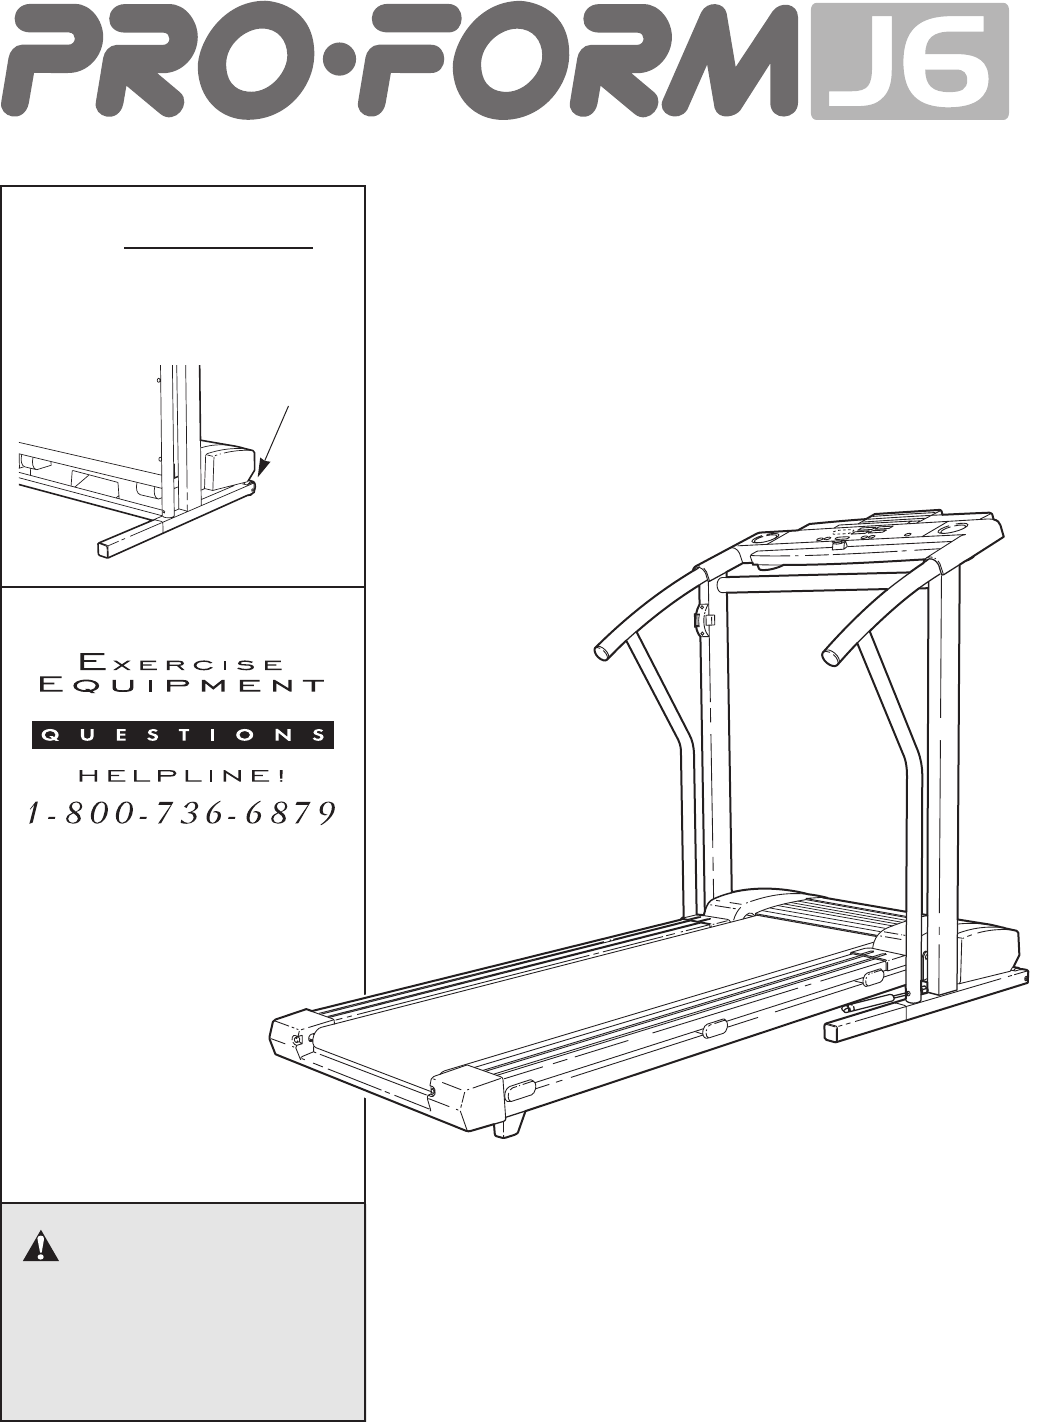
USER'S MANUAL¨CAUTIONRead all precautions and instruc-tions in this manual before usingthis equipment. Save this manualfor future reference.Seria
10If the displayed heart rate appears to be too highor too low, or if your heart rate is not displayed, liftyour thumb off the sensor and allow the di
HOW TO FOLD AND MOVE THE TREADMILLHOW TO FOLD THE TREADMILL FOR STORAGEBefore folding the treadmill, adjust the incline to the lowest position. If thi
12TROUBLE-SHOOTINGMost treadmill problems can be solved by following the simple steps below. Find the symptom that applies, and follow the steps liste
13PROBLEM: The walking belt slows when walked onSOLUTION: a. Use only a UL-listed surge protector, rated at 15 amps, with a 14-gauge cord of five feet
14CONDITIONING GUIDELINESThe following guidelines will help you to plan your ex-ercise program. RememberÑthese are general guide-lines only. For more
PART LISTÑModel No. 831.297693 R0199A1 1 Motor Belt2 1 Pulley/Flywheel/Fan3 4 Motor Nut4* 1 Motor/Pulley/Flywheel/Fan5 3 Incline Motor Bolt6 1 Incline
4127282916301626251624181615857613191651535363233153137233839151576181622213134*2394010933434232454446444546417155444444457649464716474546474762535459
907781979810310016979810797989983848483827676769478989110662104861595979810310472737610576757480937875809379788781818181888586951576485080801027820203
Part No. 153308 J00150-C R0199A Printed in USA © 1999 Sears, Roebuck and Co.The model number and serial number
2TABLE OF CONTENTSIMPORTANT PRECAUTIONS . . . . . . . . . . . . . . . . . . . . . . . . . . . . . . . . . . . . . . . . . . . . . . . . . . . . . . .
314. Never start the treadmill while you are stand-ing on the walking belt. Always hold thehandrails while using the treadmill.15. The treadmill is ca
4Thank you for selecting the new PROFORM¨J6 tread-mill. The J6 treadmill combines advanced technologywith innovative design to let you enjoy an excell
3. Cut the plastic tie off the bracket on the base of eachUpright (82). Next, cut the plastic tie off the Left Handrail(74). Position the Left Handrai
64. Note that there is still a plastic tie in the RightHandrail (85); do not remove this plastic tie. Position the Right Handrail (85) on the right Up
7OPERATION AND ADJUSTMENTTHE PERFORMANT LUBETMWALKING BELTYour treadmill features a walking belt coated withPERFORMANT LUBETM, a high-performance lubr
8CONSOLE DIAGRAMClipKeyPulse SensorDisplaysLED TrackIncline DisplaySTEP-BY-STEP CONSOLE OPERATION Before operating theconsole, make sure thatthe on/of
9Change the incline of the treadmill as desired.To change the incline of the treadmill, press the incline buttons. Each time one of the buttons ispres
© 2020, manymanuals.com. All rights reserved. | 0.594 s |
 Manymanuals.com
 Manymanuals.de
 Manymanuals.fr
 Manymanuals.it
 Manymanuals.pl
 Manymanuals.cz
 Manymanuals.es
 Manymanuals-pt.com
Comments to this Manuals