Pro-Form PERFORMANCE 400 User Manual
Browse online or download User Manual for Treadmills Pro-Form PERFORMANCE 400. Pro-Form PERFORMANCE 400 User`s manual
- Page / 36
- Table of contents
- TROUBLESHOOTING
- BOOKMARKS
Summary of Contents
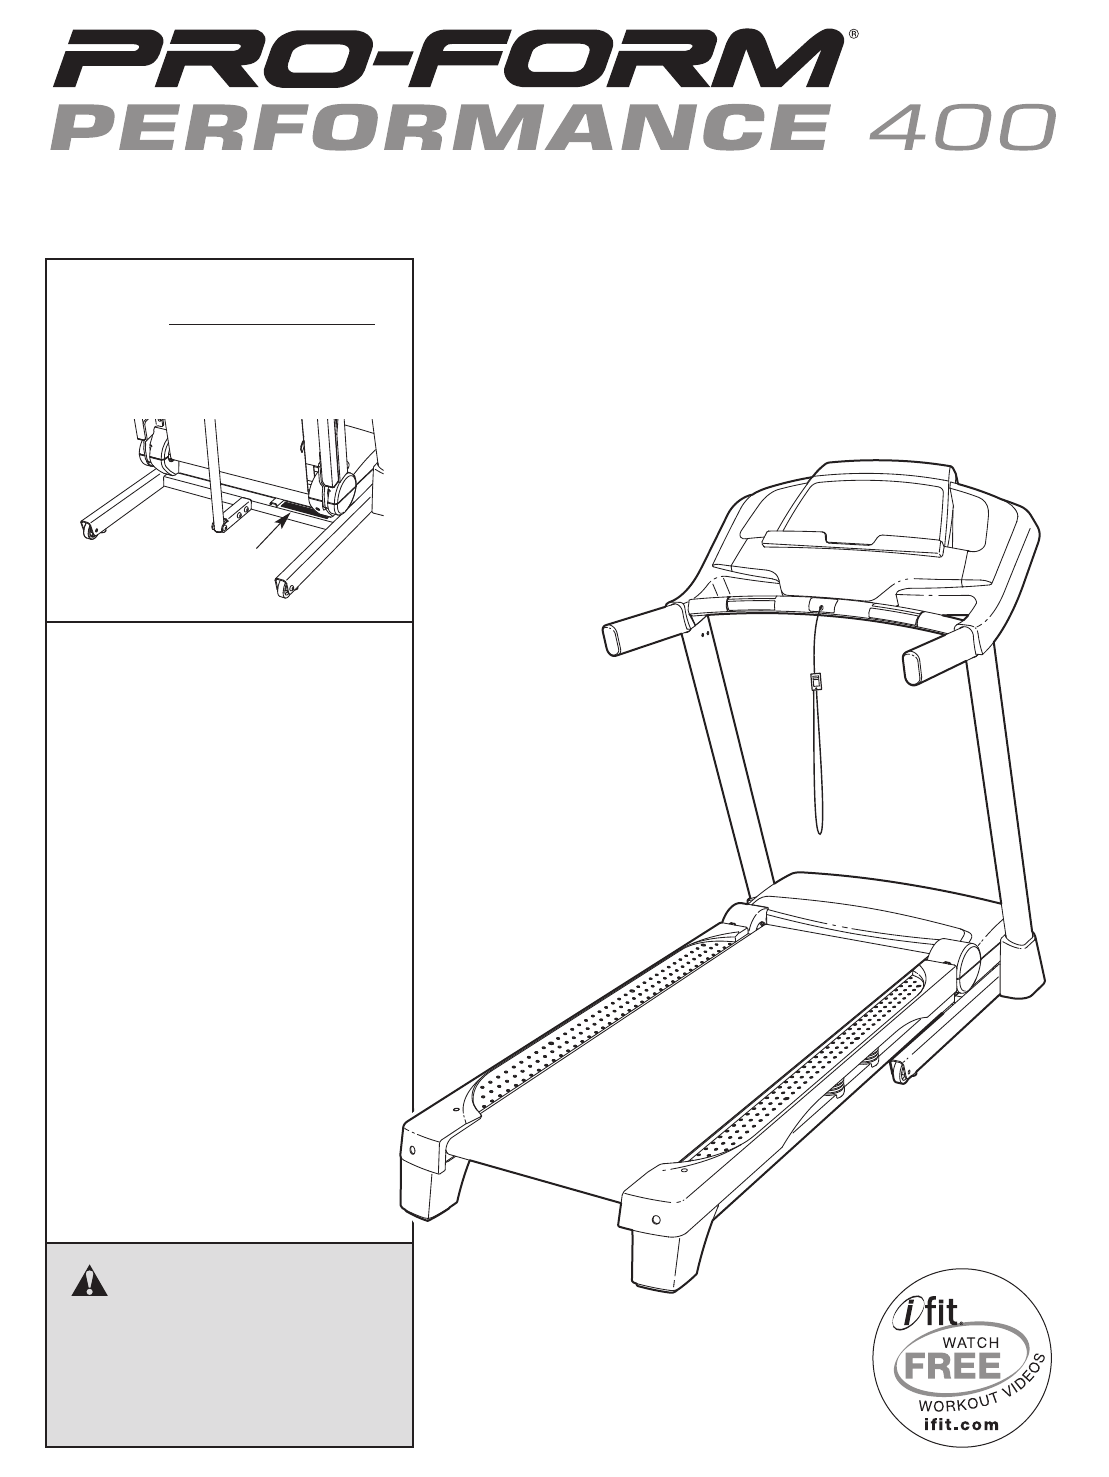
Serial NumberDecalModel No. PFTL59510.0Serial No.Write the serial number in the spaceabove for reference.CAUTIONRead all precautions and instruc-tions
107. Identify the Right Base Cover (91) and the LeftBase Cover (88). Slide the Right Base Coveronto the Right Upright (85). Slide the Left BaseCover o
1110. IMPORTANT: To avoid damaging theCrossbar (107), do not use power tools anddo not overtighten the #10 x 3/4" Screws (2).Orient the Crossbar
1212. Set the console assembly on the Left Handrail(82) and the Right Handrail (83). Be careful notto pinch any wires. Insert the excess UprightWire (
1314. Make sure that all parts are properly tightened before you use the treadmill. If there are sheets of plasticon the treadmill decals, remove the
14OPERATION AND ADJUSTMENTTHE PRE-LUBRICATED WALKING BELTYour treadmill features a walking belt coated with high-performance lubricant. IMPORTANT: Nev
15FEATURES OF THE CONSOLEThe treadmill console offers an impressive array offeatures designed to make your workouts more effec-tive and enjoyable. Whe
16HOW TO TURN ON THE POWERIMPORTANT: If the treadmill has been exposed tocold temperatures, allow it to warm to room tem-perature before you turn on t
174. Change the incline of the treadmill as desired.To change the incline of the treadmill, press theIncline increase or decrease button or one of the
186. Measure your heart rate if desired.Before usingthe handgrippulse sensor,remove thesheets ofplastic fromthe metal con-tacts on thepulse bar. Inadd
19HOW TO USE AN ONBOARD WORKOUT1. Insert the key into the console.See HOW TO TURN ON THE POWER on page 16.2. Select an onboard workout.To select an on
TABLE OF CONTENTSWARNING DECAL PLACEMENT . . . . . . . . . . . . . . . . . . . . . . . . . . . . . . . . . . . . . . . . . . . . . . . . . . . . . . .
20HOW TO USE AN IFIT LIVE WORKOUT1. Insert the key into the console.See HOW TO TURN ON THE POWER on page 16.2. Insert the iFit Live module into the co
21HOW TO USE A PROFORM SYNCThe optional PROFORM SYNC enables you to recordyour treadmill workout results on your iPod®(not in-cluded). You can then up
22THE INFORMATION MODEThe console features an information mode that keepstrack of treadmill information and allows you to person-alize console setting
23HOW TO USE THE STEREO SOUND SYSTEMThis treadmill has been designed specifically to workwith iPod and has been certified by the developer tomeet Appl
24HOW TO FOLD THE TREADMILLTo avoid damaging the treadmill, adjust the inclineto the lowest position before you fold the treadmill.Then, remove the ke
25TROUBLESHOOTINGMost treadmill problems can be solved by following the simple steps below. Find the symptom thatapplies, and follow the steps listed.
26Remove the three #8 x 3/4" Screws (1) and care-fully pivot the Motor Hood (62) off.Locate the Reed Switch (73) and the Magnet (47)on the left s
27PROBLEM: The walking belt is off-center or slips when walked onSOLUTION: a. If the walking belt is off-center, first remove thekey and UNPLUG THE PO
28These guidelines will help you to plan your exerciseprogram. For detailed exercise information, obtain areputable book or consult your physician. Re
29SUGGESTED STRETCHESThe correct form for several basic stretches is shown at the right. Move slowly as you stretch—never bounce.1. Toe Touch StretchS
31. Before beginning any exercise program, con-sult your physician. This is especially impor-tant for persons over age 35 or persons withpre-existing
30PART LIST—Model No. PFTL59510.0 R1110ATo locate the parts listed below, see the EXPLODED DRAWING near the end of this manual.Key No. Qty. Descriptio
31Key No. Qty. Description Key No. Qty. Description101 1 Console102 1 Console Frame103 1 Left Tray104 2 #8 x 3/4" Truss Head Screw105 2 Console C
8512021213433343328323243433045303040363636474546364441494854605556564658596157181024231819192024303030302830154280158042153428015428081010868633332EX
15151515741873373737111172222282869707168626476757265162828316766777978161663104104EXPLODED DRAWING B—Model No. PFTL59510.0 R1110A33
8583823838441384471114118881905905905969682735898995929294905942526353597988710108932735917111114413878191291221071211111121234EXPLODED DRAWING C—Mode
103101106111100175099391717535310510510252291110811111135EXPLODED DRAWING D—Model No. PFTL59510.0 R1110A
Part No. 301946 R1110A Printed in USA © 2010 ICON IP, Inc.ORDERING REPLACEMENT PARTSTo order replacement parts, please see the front cover of this man
420. Never leave the treadmill unattended while itis running. Always remove the key, unplugthe power cord, and press the power switchinto the off posi
5Thank you for selecting the revolutionary PROFORM®PERFORMANCE 400 treadmill. The PERFORMANCE400 treadmill offers an impressive selection of featuresd
6ASSEMBLYTo hire an authorized service technician to assemble the treadmill, call 1-800-445-2480.Assembly requires two persons. Set the treadmill in a
72. See the inset drawing. Cut the plastic tie nearthe Upright Wire (87).Attach a Wheel (96) to the Base (95) with a 3/8"x 2" Bolt (8) and a
84. Hold the Right Upright (85) against the Base(95). Be careful not to pinch the UprightWire (87). Insert two 3/8" x 4" Bolts (7) with two3
6. Hold the Left Upright (84) against the Base (95).Insert two 3/8" x 4" Bolts (7) with two 3/8" StarWashers (11) and a 3/8" x 1 1
Related products and manuals for Treadmills Pro-Form PERFORMANCE 400
 (32 pages)
(36 pages)
(18 pages)
(32 pages)
(22 pages)
(40 pages)
(28 pages)
(36 pages)
(32 pages)
(32 pages)
(32 pages)
(18 pages)
(22 pages)
(32 pages)
(32 pages)
(36 pages)
(18 pages)
(32 pages)
(22 pages)
(40 pages)
(28 pages)
(36 pages)
(32 pages)
(32 pages)
(32 pages)
(18 pages)
(22 pages)
© 2020, manymanuals.com. All rights reserved. | 1.222 s |
 Manymanuals.com
 Manymanuals.de
 Manymanuals.fr
 Manymanuals.it
 Manymanuals.pl
 Manymanuals.cz
 Manymanuals.es
 Manymanuals-pt.com
Comments to this Manuals