Pro-Form PFTL10110.0 User Manual
Browse online or download User Manual for Treadmills Pro-Form PFTL10110.0. Pro-Form PFTL10110.0 User`s manual
- Page / 40
- Table of contents
- TROUBLESHOOTING
- BOOKMARKS
Summary of Contents
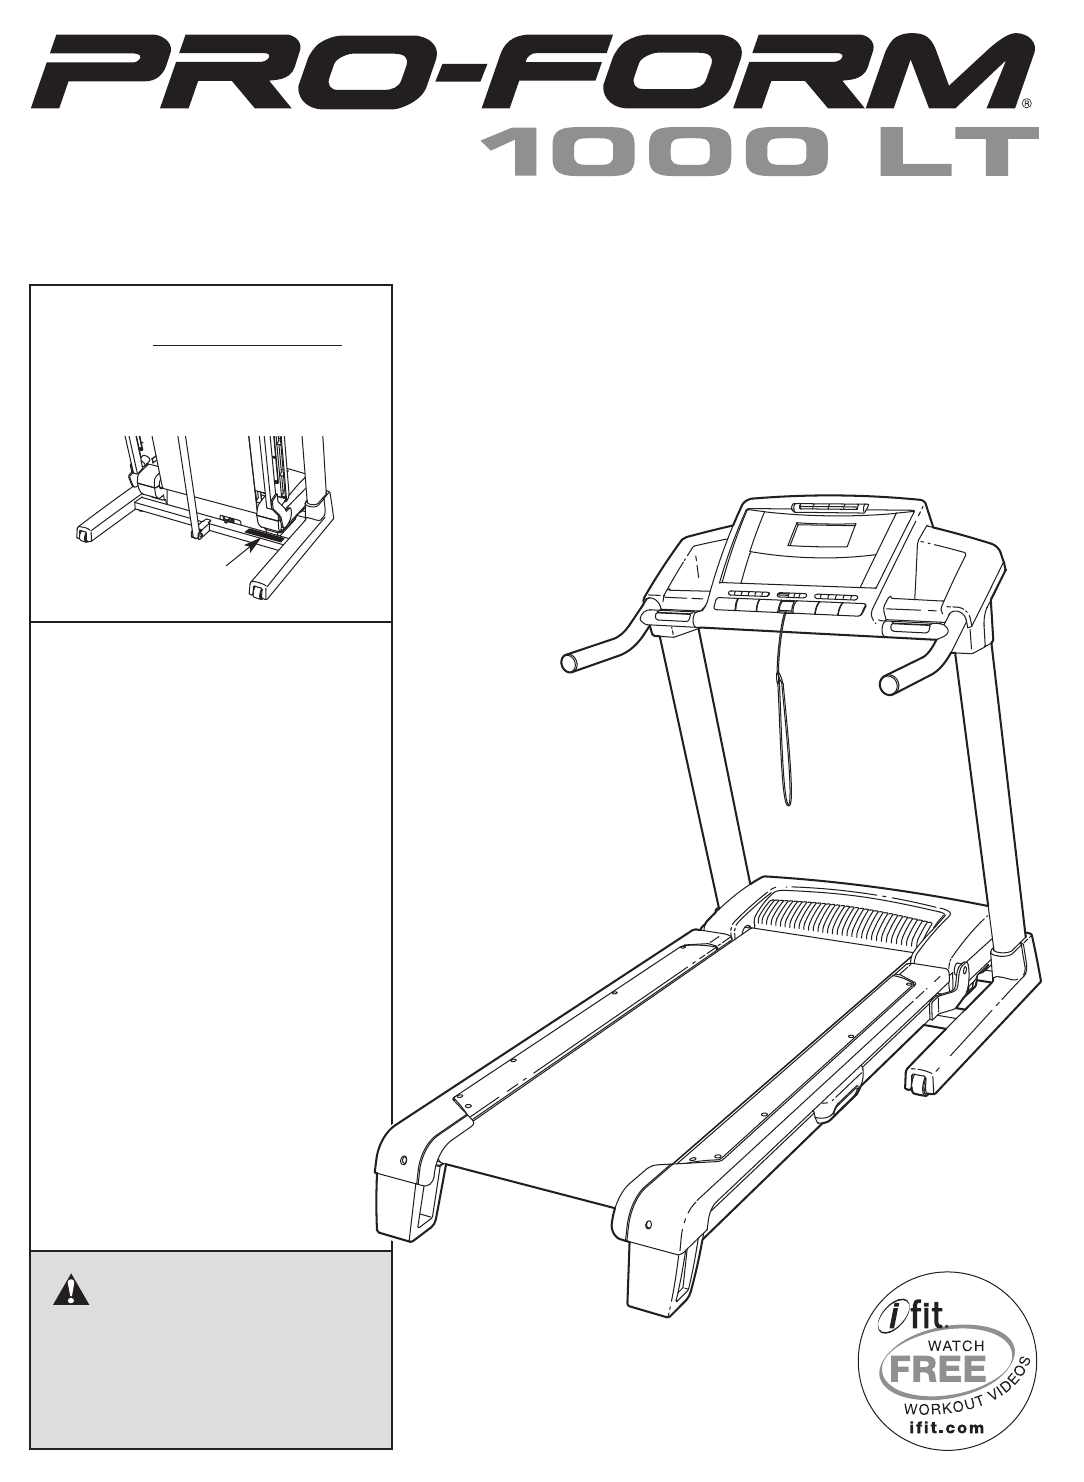
USER'S MANUALCAUTIONRead all precautions and instruc-tions in this manual before usingthis equipment. Save this manualfor future reference.Serial
109. Attach the console assembly to the Uprights(85) with four 3/8" x 1 1/4" Bolts (72) and four3/8" Star Washers (67) (only one side i
1111. With the help of a second person, carefullylower the Uprights (85) to the position shown.Attach the Right Base Cover (86) with three #8 x3/4&quo
121. Make sure that the power cord is unplugged.Remove the indicated #8 x 3/4" Screws (7) fromthe back of the Console Base (98).2. While a second
13HOW TO CONNECT AN ANTENNAPlace an indoor an-tenna or an outdoorcombinationVHF/UHF antennain the desired loca-tion. Outdoor anten-nas are subject tow
OPERATION AND ADJUSTMENTTHE PRE-LUBRICATED WALKING BELTYour treadmill features a walking belt coated with high-performance lubricant. IMPORTANT: Never
15FEATURES OF THE CONSOLEThe treadmill console offers an impressive array offeatures designed to make your workouts more effec-tive and enjoyable. You
16HOW TO TURN ON THE POWERIMPORTANT: If the treadmill has been exposed tocold temperatures, allow it to warm to room tem-perature before turning on th
176. Select a display mode and follow your progresswith the exercise information on the screen.While the television is turned off, you can selecteithe
18HOW TO USE A PRESET PROGRAM1. Insert the key into the console.See HOW TO TURN ON THE POWER on page16.2. Identify yourself as user 1 or user 2.See st
19HOW TO USE A PULSE PROGRAM1. Put on the optional chest pulse sensor.Note: You must wear the optional chest pulse sen-sor to use a pulse program. See
TABLE OF CONTENTSWARNING DECAL PLACEMENT . . . . . . . . . . . . . . . . . . . . . . . . . . . . . . . . . . . . . . . . . . . . . . . . . . . . . . .
20During each segment of the program, the consolewill compare your heart rate to the target heart ratesetting for that segment. If your heart rate is
21HOW TO CREATE A CUSTOM PROGRAM1. Insert the key into the console.See HOW TO TURN ON THE POWER on page16.2. Identify yourself as user 1 or user 2.See
22HOW TO USE A CUSTOM PROGRAM1. Insert the key into the console.See HOW TO TURN ON THE POWER on page16.2. Identify yourself as user 1 or user 2.See st
23HOW TO USE AN IFIT CARD1. Insert the key into the console.See HOW TO TURN ON THE POWER on page16.2. Identify yourself as user 1 or user 2.See step 2
24HOW TO OPERATE THE PERSONAL TELEVISIONIMPORTANT: Before operating the television, youmust connect an RCA component video cable, anantenna, or a CATV
25THE INFORMATION MODEThe console features an information mode that allowsyou to view treadmill usage information, select a sys-tem of measurement for
265. Press the Power button again and save chan-nels into the televisionʼs memory.When you press the Power button, the televisionwill begin scanning a
27HOW TO FOLD AND MOVE THE TREADMILLHOW TO FOLD THE TREADMILL FOR STORAGEBefore folding the treadmill, adjust the incline to thelowest position. If yo
28HOW TO LOWER THE TREADMILL FOR USE1. Hold the upper end of the treadmill with your right hand.Pull the latch knob to the left and hold it. Note: To
29TROUBLESHOOTINGMost treadmill problems can be solved by following the steps below. Find the symptom that applies, andfollow the steps listed. If fur
31. Before beginning this or any exercise pro-gram, consult your physician. This is espe-cially important for persons over age 35 orpersons with pre-e
30Locate the Reed Switch (22) and the Magnet (18) onthe left side of the Pulley (17). Turn the Pulley until theMagnet is aligned with the Reed Switch.
31PROBLEM: The incline of the treadmill does not change correctlySOLUTION: a. With the key in the console, press one of the Incline buttons. While the
32These guidelines will help you to plan your exerciseprogram. For detailed exercise information, obtain areputable book or consult your physician. Re
33SUGGESTED STRETCHESThe correct form for several basic stretches is shown at the right. Move slowly as you stretch—never bounce.1. Toe Touch StretchS
34PART LIST—Model No. PFTL10110.0 R0110ATo locate the parts listed below, see the EXPLODED DRAWING near the end of this manual.Key No. Qty. Descriptio
35Key No. Qty. Description Key No. Qty. Description101 1 TV Cable Washer102 2 1/4" Flat Washer103 1 Key/Clip104 4 #8 x 1/2" Screw105 1 Conso
1918141011121356215555161117141013124962575764235610410428627392939273616110412221045422232260102601027610920109204888848888111111111111505390909090EX
372526313736337773434342371382019374041324542435152234794489996232424212258697475205966107106683544203273232324273271311512442831174613132311893EXPLOD
8182858473818281823080726797878791808182301109791736788868492202092637637798282777289656589656581827981827911011211311211310110838EXPLODED DRAWING C—M
100103981057870789577777777777777711611410839EXPLODED DRAWING D—Model No. PFTL10110.0 R0110A
418. The treadmill is capable of high speeds.Adjust the speed in small increments toavoid sudden jumps in speed.19. The pulse sensor is not a medical
Part No. 295980 R0110A Printed in USA © 2010 ICON IP, Inc.ORDERING REPLACEMENT PARTSTo order replacement parts, please see the front cover of this man
5SAVE THESE INSTRUCTIONSPower LinesGroundClampsGroundClampsGroundClampBondingJumperStandoffInsulatorsAntennaLead-in WireGround WireGroundWireAntennaDi
6Thank you for selecting the revolutionary PROFORM®1000 LT treadmill. The 1000 LT treadmill offers a se-lection of features designed to make your work
ASSEMBLYTo hire an authorized service technician to assemble the treadmill, call 1-800-445-2480. Assembly requirestwo persons. Set the treadmill in a
82. Attach two Base Feet (81) to the base of theUprights (85) in the indicated locations with two#8 x 1" Tek Screws (82). Note: One replacementBa
96. Identify the Left Base Cover (88), which hascutouts in the locations shown. Slide the LeftBase Cover onto the left Upright (85). Then, slidethe Ri
More documents for Treadmills Pro-Form PFTL10110.0

Related products and manuals for Treadmills Pro-Form PFTL10110.0
 (18 pages)
(32 pages)
(14 pages)
(36 pages)
(18 pages)
(32 pages)
(14 pages)
(36 pages)


 (17 pages) (36 pages)
 (10 pages)
(36 pages)
(32 pages)
(36 pages)
(10 pages)
(36 pages)
(32 pages)
(36 pages)
 (36 pages)
(28 pages)
(36 pages)
(36 pages)
(28 pages)
(36 pages)
© 2020, manymanuals.com. All rights reserved. | 0.093 s |
 Manymanuals.com
 Manymanuals.de
 Manymanuals.fr
 Manymanuals.it
 Manymanuals.pl
 Manymanuals.cz
 Manymanuals.es
 Manymanuals-pt.com
Comments to this Manuals