Pro-Form 380 CS User Manual
Browse online or download User Manual for Treadmills Pro-Form 380 CS. Pro-Form 380 CS User`s manual
- Page / 28
- Table of contents
- TROUBLESHOOTING
- BOOKMARKS
- USERʼS MANUAL 1
- TABLE OF CONTENTS 2
- WARNING DECAL PLACEMENT 2
- IMPORTANT PRECAUTIONS 3
- SAVE THESE INSTRUCTIONS 4
- BEFORE YOU BEGIN 5
- ASSEMBLY 6
- OPERATION AND ADJUSTMENT 12
- DANGER: Improper connection 12
- TROUBLESHOOTING 19
- EXERCISE GUIDELINES 21
- WARNING: B 21
- LIMITED WARRANTY 28
- ORDERING REPLACEMENT PARTS 28
Summary of Contents
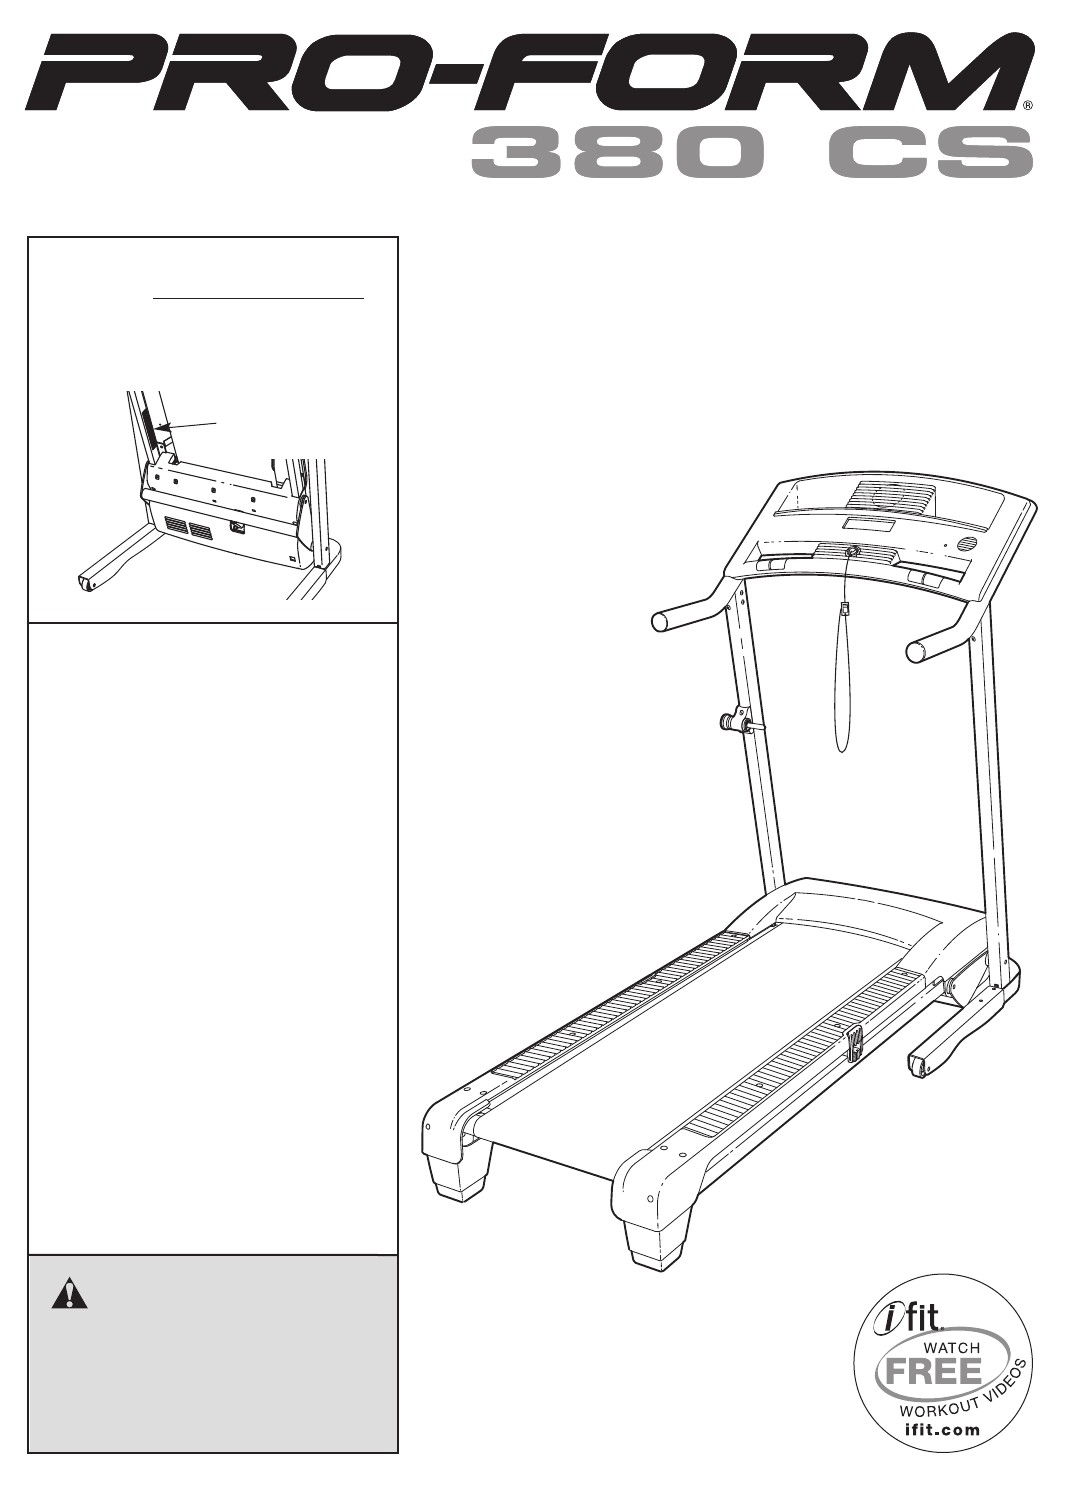
Model No. PFTL39908.0Serial No.CAUTIONRead all precautions and instruc-tions in this manual before usingthis equipment. Save this manualfor future ref
11. Attach the ground wire on the Wire Harness (39)to the indicated hole in the Base (52) with an M4x 10mm Ground Screw (84).5239Ground Wire1184Hole10
111114. Make sure that all parts are properly tightened before you use the treadmill. Keep the included hex keysin a secure place. One hex key is used
OPERATION AND ADJUSTMENTTHE PRE-LUBRICATED WALKING BELTYour treadmill features a walking belt coated with high-performance lubricant. IMPORTANT: Never
13CONSOLE DIAGRAMFEATURES OF THE CONSOLEThe treadmill console offers a selection of featuresdesigned to make your workouts more effective. Whenyou sel
14HOW TO TURN ON THE POWERIMPORTANT: If the treadmill has been exposed tocold temperatures, allow it to warm to room tem-perature before turning on th
15The lower left display—As you exercise, thelower left display canshow the elapsed time,the distance that youhave walked or run, andthe incline level
16HOW TO USE A SPEED WORKOUT1. Insert the key into the console.See HOW TO TURN ON THE POWER on page14.2. Select one of the four speed workouts.To sele
17HOW TO USE THE SOUND SYSTEMTo play music or audio books through the consoleʼssound system, you must connect your MP3 player, CDplayer, or other pers
18HOW TO FOLD AND MOVE THE TREADMILLHOW TO FOLD THE TREADMILL FOR STORAGEBefore folding the treadmill, adjust the incline to thelowest position. If yo
19TROUBLESHOOTINGMost treadmill problems can be solved by following the steps below. Find the symptom that applies, andfollow the steps listed. If fur
TABLE OF CONTENTSWARNING DECAL PLACEMENT . . . . . . . . . . . . . . . . . . . . . . . . . . . . . . . . . . . . . . . . . . . . . . . . . . . . . . .
20Locate the Reed Switch (89) and the Magnet (62) onthe left side of the Pulley (71). Turn the Pulley until theMagnet is aligned with the Reed Switch.
21EXERCISE GUIDELINESThese guidelines will help you to plan your exerciseprogram. For detailed exercise information, obtain areputable book or consult
2212M10 x 60mm Bolt24 M10 x 75mm Bolt32M4.2 x 13mm Tek Screw4 13 M4.2 x 16mm Screw56M8 Star Washer61Latch Warning Decal72M5 Star Washer86M8 x 15mm Bol
23Key No. Qty. Description Key No. Qty. Description101 2 Drive Roller Washer102 3 M4.2 x 18mm Screw103 1 Console Fan104 2 M10 x 58mm Bolt105 2 Cage Nu
EXPLODED DRAWING A—Model No. PFTL39908.0 R0908A9317818651766728628938393631462525252525757556257168281861194427295536214221296036194227441919785078644
EXPLODED DRAWING B—Model No. PFTL39908.0 R0908A343844793430593866902020203799654747475721214242211088710423104725892824049219810025
EXPLODED DRAWING C—Model No. PFTL39908.0 R0908A8010235411531419111149104885103377228877245239858577101010771010101084857788539106105105524963261343321
27EXPLODED DRAWING D—Model No. PFTL39908.0 R0908A15917341210344444444410984
Part No. 269649 R0908A Printed in China © 2008 ICON IP, Inc.ORDERING REPLACEMENT PARTSTo order replacement parts, please see the front cover of this m
3IMPORTANT PRECAUTIONS1. Before beginning any exercise program, con-sult your physician. This is especially impor-tant for persons over age 35 or pers
419. The treadmill is capable of high speeds.Adjust the speed in small increments to avoidsudden jumps in speed.20. Never leave the treadmill unattend
5Thank you for selecting the revolutionary PROFORM®380 CS treadmill. The 380 CS treadmill offers an im-pressive selection of features designed to make
ASSEMBLYAssembly requires two persons. Set the treadmill in a cleared area and remove all packing materials. Do notdispose of the packing materials un
72. Have a second person hold the Base (52) in theposition shown.Identify the Left Upright (53) (the Right Upright[54] has a large hole near the lower
85. See the left inset drawing. Identify the twoFrame Spacers (11). Open the included packetof grease, and apply grease to both sides of bothFrame Spa
8. Remove the plastic ties from the Right Handrail(33) and the Left Handrail (not shown). Press thetwo Cage Nuts (105) back into place if necessary(on
Related products and manuals for Treadmills Pro-Form 380 CS
 (32 pages)
(19 pages)
(18 pages)
(19 pages)
(18 pages)
(32 pages)
(32 pages)
(32 pages)
(32 pages)
(32 pages)
(19 pages)
(18 pages)
(19 pages)
(18 pages)
(32 pages)
(32 pages)
(32 pages)
(32 pages)
 (18 pages)
(10 pages)
(18 pages)
(10 pages)
 (36 pages)
(74 pages)
(28 pages)
(40 pages)
(36 pages)
(74 pages)
(28 pages)
(40 pages)
© 2020, manymanuals.com. All rights reserved. | 3.196 s |
 Manymanuals.com
 Manymanuals.de
 Manymanuals.fr
 Manymanuals.it
 Manymanuals.pl
 Manymanuals.cz
 Manymanuals.es
 Manymanuals-pt.com
Comments to this Manuals